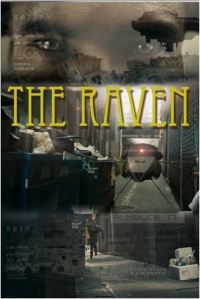
In this project I decided to use my own car instead of a stock image. After using a stock image of a gunman, I decided that it’d look better if I inserted myseff as the gunman. After all, it’s my can, why not be the gunman too! Putting everything at the right angle was a bit difficult at first, but after some practice it became a lot easier. There were a lot of blur filters used here(obviously) and I feel quite comfortable adding their use to my repertoire. The whole project took about 5 hours to complete, but I had to play around with it a lot until I found just the right balance of layer adjustments.
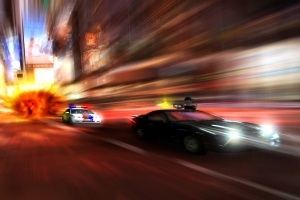
Car Chase!
My latest creation. Again, this was a exercise where I had to recreate the provided image. This project dealt with many little filter and layer adjustments. I had to do this one, and if you know me, you know why. I had a lot of fun putting this together and had little frustrating moment. If something didn’t look the way I wanted it to by following the exercise, I simply found another way to achieve the same result… wow, I love Photoshop!
I was up all night working on this one. I learned some great techniques by experimenting with filters and levels. Aside from the field image, the entire explosion and effects were created from scratch in Photoshop. I really like this one, but this was my first attempt at doing something like this. The next one will be much better. I learned a lot with this project.
It’s the start of a new session and I’m really excited to get back to work in Photoshop. Here is what I’ve done in the past two weeks.
For this project I took parts from a host image that looked like a table with junk on it at a garage sale. This point was to take parts of the host image and create a camera spy fly. This was fun and a bit challenging. Overall, I’m pleased with the final results. Next to the Fly is the host image.
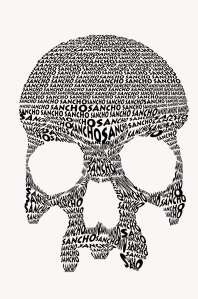
I used a skull for the template and repeated the word “Sancho” to create this word image. Very time consuming.
Thats it for the first week of actual work.
For this comp, I took the original picture supplied and traced the outline. Next, I added layer after layer to recreate the floors in a different style. After that, I found a background picture to finish this initial building image. I used a filter to give the background a drawn look to it because the image I found was a live shot picture and it didn’t fit with the building.
To create this poster I first gathered stock images of grasslands, plains, trees, castles, and characters. I was able to use both real pictures and drawn images together in this composition. The grassland is an actual picture and so is one of the trees. I started with the background and then added the trees. Next, I selected the castle. I used Howl’s moving Castle from one of my favorite movies. After that, I inserted the picnic characters. This was difficult because they were originally on a blue background and I had to carefully erase the blue outline around them. But I must say, I’m quite pleased with the final take. The extra time was well worth it.
